The Robot viewer gathers several tools allowing to monitor the robot on which the plugin is connected:
To display the Robot viewer, see: Running the Robot Viewer.
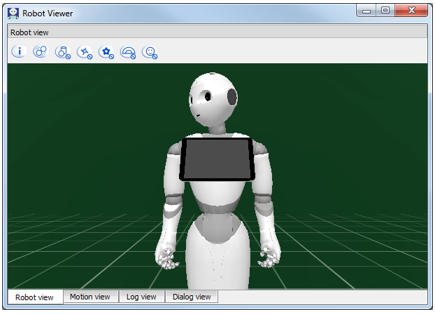
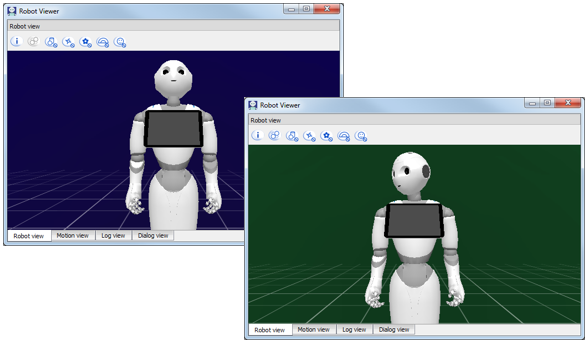
The Robot view displays a 3D view of the connected robot.
Good to know:
Toolbar
The Robot view toolbar allows to modify the displayed information.
| Button | Description |
|---|---|
 |
Display 3D information |
 |
Show collisions |
 |
Do not show world representation objects |
 |
Do not update robot position |
 |
Do not update motors position |
 |
Do not show the engagement zone |
 |
Do not show the perceived people |
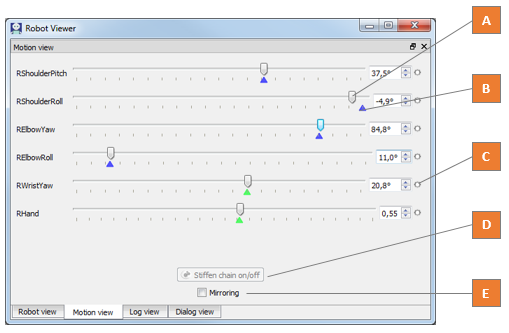
Motion View lets you modify the joint values of each limb.
| Index | Name | Description |
|---|---|---|
| A | Slider | Allows you to adjust the joint value. |
| B | Current joint value | The color indicates if the requested value has been reached. Green indicator means the current joint value equals to the last requested value. Blue indicator means that the joint value is not (or not yet) the requested value. It could be because
|
| C | Record button | Saves the defined value, when a Timeline box is currently opened. This button can be:
|
| D | Stiffen chain on/off button | Sets on/off the Stiffness of the whole selected chain of joints (Head, Arm or Leg). This button can be:
|
| E | Mirroring option | If selected, actions (send a command value, register a joint value, etc) are also executed on the symmetric limb. For example left and right arms will move the same way. |
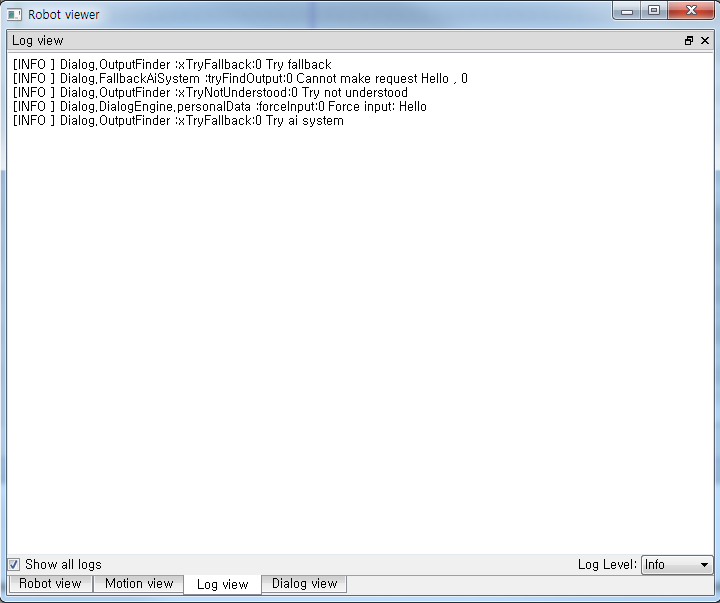
Log view displays the log messages generated from robot actions to aid you debug your application. You can select the log level to display.
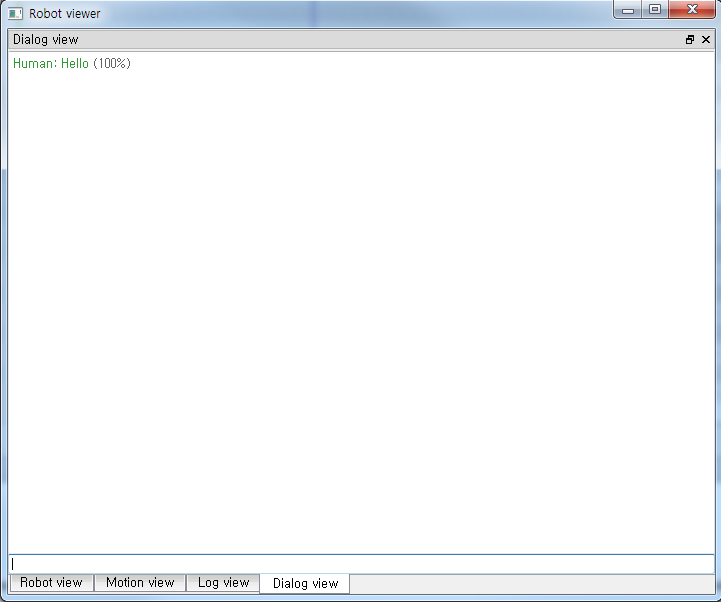
Dialog view provides a visual interface between you and your robot that lets you send dialog messages to your robot.
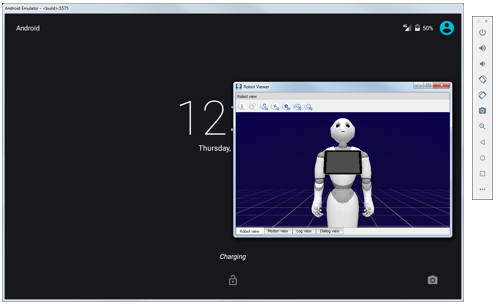
Robot viewer is run automatically when a robot is connected to your plugin.
To connect your plugin to a robot, see:
To manually launch an emulated robot:
| Step | Action |
|---|---|
From Android Studio:
The emulated robot appears. |
Note
Note that the Robot emulator is automatically launched upon running your application.
Note also that the emulator launched depends of the API level of your robotic android project.
Troubleshooting
If the virtual tablet of the emulated robot displays a black screen, try: Modifying the AVD graphical acceleration type.
Robot emulator consists in the modules described below.
| Module | Description |
|---|---|
| NAOqi | Robot emulator engine. Emulates the operations of the real robot. |
| Robot Viewer | Viewer. Displays the simulated robot behavior. |
| AVD | Android Virtual Device. Has the same configuration as Pepper tablet. Your robot application is run on it. |
All three of them have the same lifecycle: they are launched together and will all stop if one of them is stopped.
Robots Browser allows Connecting to a real robot.
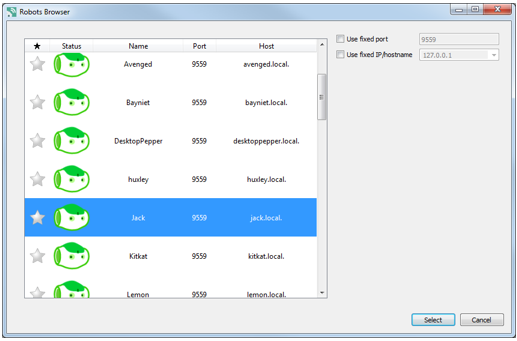
The table below describes the columns of the list of robots.
| Name | Description |
|---|---|
 |
Enables you to add a robot to Favorite. |
| Status | Displays the Type and state of the robot. |
| Name | The robot’s Name. |
| Port | The port used to connect to the robot. |
| Host | The host used to connect to the robot. |
To add/remove a robot to Favorites, click the star.
| Icon | Description |
|---|---|
 |
The robot is a Favorite robot. The next time you open Connect to panel, the favorite robots will appear at the top of the list. |
 |
The robot is not a favorite robot. |
| Icon | Description |
|---|---|
 |
A physical robot. NAOqi is not running. The robot is in a state in which it should be impossible to establish a connection. NAOqi has been shutdown or is in a state that does not allow the connection. |
 |
A physical robot. NAOqi is running. You can connect to this robot. The contextual menu offers also the following options:
|
 |
A simulated robot. You can connect to this kind of robot. But you cannot view its webpage nor test its LEDs. |