Use the Animation Editor to create or edit Animation Timelines.
To make sure Animation Editor is well installed, let’s try to create an Animation Timeline file.
| Step | Action | |
|---|---|---|
| From Android Studio, choose File > New > Animation Timeline. | 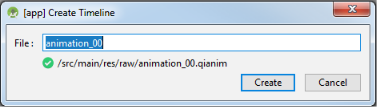
|
|
| Give a name to your Animation Timeline file and click the Create button. | ||
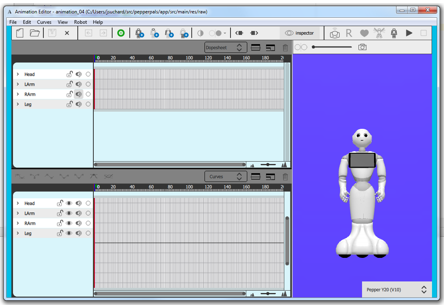
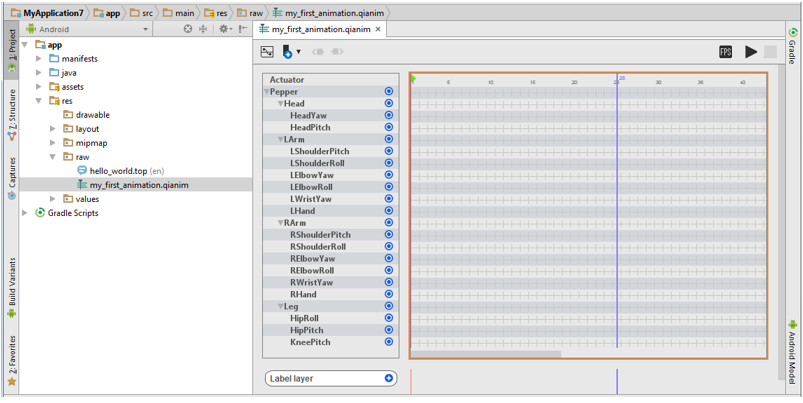
The screen displays Animation Editor with a blank Animation file. By default the Dopesheet and Curves views are displayed. The Animation Timeline is stored in a |
|
Note
If the Animation Editor is not displayed, see the Troubleshooting section.
If everything goes well, then let’s discover the animation editor: Getting Started.
To edit an Animation Timeline file:
| Step | Action | |
|---|---|---|
| Double click the file name. | ||
Result: the Animation Editor is launched. 
|
||
Note You can also right click the file name and choose Edit Animation in the contextual menu. 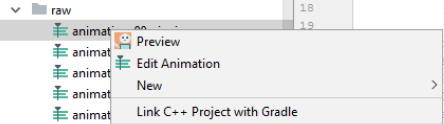
|
||
[Old version]
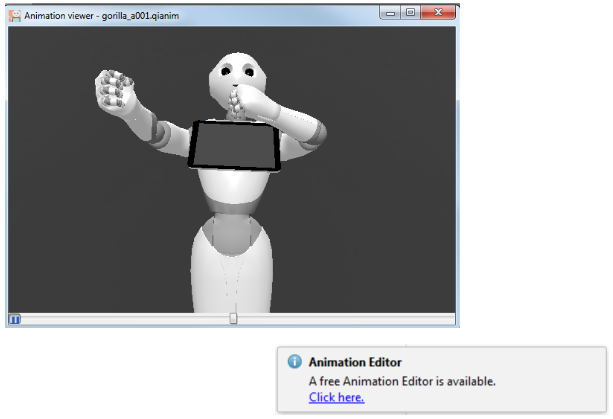
The Animation viewer displays a preview:
| Step | Action |
|---|---|
Install Animation Editor. For further details, see: Installing Animation Editor. |
[No Editor]
The Animation Timeline is displayed inside Android Studio:
| Step | Action |
|---|---|
Upgrade to the latest version of the Pepper SDK plugin. For further details, see: Get Pepper SDK Plugin. |
|
Install Animation Editor. For further details, see: Installing Animation Editor. |
| Step | Action | |
|---|---|---|
| When prompted, click the link. | 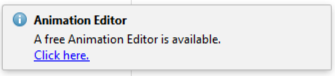
|
|
| Click the Install and Run button. | 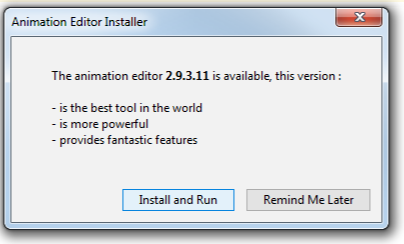
|
|
| Optionally choose another directory. | 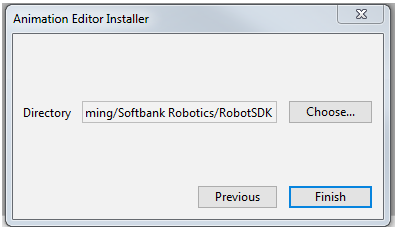
|
|
| Click the Finish button. | 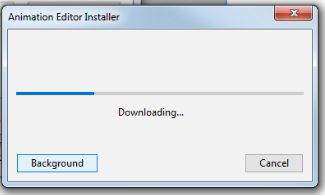
|