Goal
In this tutorial, we will learn how to use the value of a variable in a QiChatbot, using QiChatVariable.
Prerequisites
Before stepping in this tutorial, you should:
Let’s start a new project
For further details, see: Creating a robot application.
Create a new topic file named variable.top for the English (en) language.
Add the following content to this file:
topic: ~variable()

proposal: %read ^first["My robot is $var" "There is no value, type one"]
For more details about the syntax, see QiChat - Syntax.
In this section, we will see how to retrieve the var variable present in our
topic.
A QiChatbot variable is represented by a QiChatVariable.
Store the following fields in your MainActivity:
// Store the variable.
private var variable: QiChatVariable? = null
// Store the QiChatbot.
private var qiChatbot: QiChatbot? = null
// Store the variable.
private QiChatVariable variable;
// Store the QiChatbot.
private QiChatbot qiChatbot;
To retrieve a variable, use the variable method on a
QiChatbot instance.
It takes the variable name as parameter (here “var”).
In the onRobotFocusGained method, add the following code:
// Create a topic.
 val topic: Topic = TopicBuilder.with(qiContext)
        .withResource(R.raw.mimic_animal)
        .build()

// Create a new QiChatbot.
qiChatbot = QiChatbotBuilder.with(qiContext)
        .withTopic(topic)
        .build()

// Create a new Chat action.
val chat: Chat = ChatBuilder.with(qiContext)
        .withChatbot(qiChatbot)
        .build()

// Get the variable.
variable = qiChatbot.variable("var")

// Run the Chat action asynchronously.
chat.async().run()
// Create a topic.
Topic topic = TopicBuilder.with(qiContext)
        .withResource(R.raw.variable)
        .build();

// Create a new QiChatbot.
qiChatbot = QiChatbotBuilder.with(qiContext)
        .withTopic(topic)
        .build();

// Create a new Chat action.
Chat chat = ChatBuilder.with(qiContext)
        .withChatbot(qiChatbot)
        .build();

// Get the variable.
variable = qiChatbot.variable("var");

// Run the Chat action asynchronously.
chat.async().run();
To set a value to a QiChatVariable, use the setValue method.
Add the following code to your MainActivity class:
private fun assignVariable(value: String) {
    // Set the value.
    variable?.async()?.setValue(value)
}
private void assignVariable(String value) {
    // Set the value.
    variable.async().setValue(value);
}
We will implement this functionality using:
EditText to enter the value,Button to save the value.Modify your activity_main.xml file with the following code:
<?xml version="1.0" encoding="utf-8"?>
<android.support.constraint.ConstraintLayout xmlns:android="http://schemas.android.com/apk/res/android"
    xmlns:app="http://schemas.android.com/apk/res-auto"
    xmlns:tools="http://schemas.android.com/tools"
    android:layout_width="match_parent"
    android:layout_height="match_parent"
    android:focusableInTouchMode="true"
    tools:context=".MainActivity"
    tools:layout_editor_absoluteY="0dp"
    tools:layout_editor_absoluteX="0dp">

    <EditText
        android:id="@+id/variable_editText"
        android:layout_width="wrap_content"
        android:layout_height="wrap_content"
        android:ems="10"
        android:inputType="text"
        android:hint="Value"
        app:layout_constraintRight_toLeftOf="@+id/assign_button"
        app:layout_constraintLeft_toLeftOf="parent"
        app:layout_constraintTop_toTopOf="parent"
        android:layout_marginTop="8dp"
        app:layout_constraintBottom_toBottomOf="parent"
        android:layout_marginBottom="8dp" />

    <Button
        android:id="@+id/assign_button"
        android:layout_width="wrap_content"
        android:layout_height="wrap_content"
        android:text="Assign"
        app:layout_constraintRight_toRightOf="parent"
        app:layout_constraintLeft_toRightOf="@+id/variable_editText"
        app:layout_constraintBaseline_toBaselineOf="@+id/variable_editText" />

</android.support.constraint.ConstraintLayout>
Add these fields to your MainActivity class:
// Store the Bookmark used to read the variable.
private var readBookmark: Bookmark? = null
private EditText variableEditText;
// Store the Bookmark used to read the variable.
private Bookmark readBookmark;
Add the following retrieveAndAssignVariable method:
private fun retrieveAndAssignVariable() {
    val value: String = variable_editText.text
    edit_text.text = ""
    assignVariable(value)
}
private void retrieveAndAssignVariable() {
    String value = variable_editText.getText().toString();
    variableEditText.setText("");
    assignVariable(value);
}
Add this line to the onRobotFocusGained method to retrieve the Bookmark:
readBookmark = topic.bookmarks["read"]
readBookmark = topic.getBookmarks().get("read");
And modify the assignVariable method:
private fun assignVariable(value: String) {.
    // Set the value.
    variable?.async()?.setValue(value).andThenConsume {
        // Read the value.
        qiChatbot?.goToBookmark(readBookmark, AutonomousReactionImportance.HIGH, AutonomousReactionValidity.IMMEDIATE)
    }
}
private void assignVariable(String value) {
    // Set the value.
    variable.async().setValue(value).andThenConsume(ignore -> {
        // Read the value.
        qiChatbot.goToBookmark(readBookmark, AutonomousReactionImportance.HIGH, AutonomousReactionValidity.IMMEDIATE);
    });
}
Note
We are using AutonomousReactionImportance.HIGH and
AutonomousReactionValidity.IMMEDIATE so that the Chat goes to the
specified bookmark right away.
Add the following code in the onCreate method:
// Assign variable on assign button clicked.
assign_button.setOnClickListener { retrieveAndAssignVariable() }
// Assign variable on assign button clicked.
Button assignButton = findViewById(R.id.assign_button);
assignButton.setOnClickListener(v -> retrieveAndAssignVariable());

variableEditText = findViewById(R.id.variable_editText);
![]() The sources for this tutorial are available on GitHub.
The sources for this tutorial are available on GitHub.
| Step | Action |
|---|---|
Install and run the application. For further details, see: Running an application. |
|
Choose “Mastering QiChat variable”. 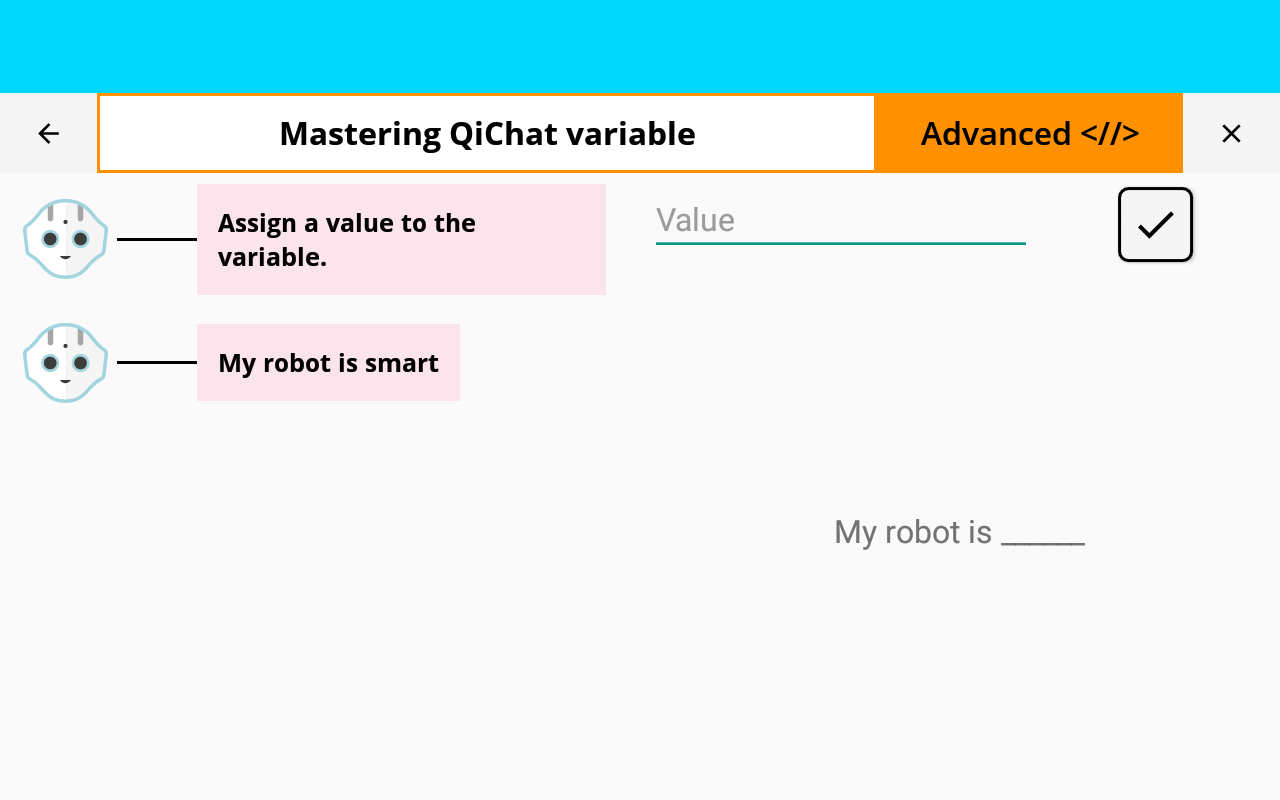
|
|
Type “Pepper” and validate. Pepper says “My robot is Pepper”. |
|
Type “smart” and validate. Pepper says “My robot is smart”. |
You are now able to use variables in a QiChatbot!